When to Use Manual Entry
Use manual entry when your aircraft isn't found in the FAA database lookup:
- Experimental/Amateur-Built Aircraft - Custom-built aircraft with unique configurations
- Foreign-Registered Aircraft - Aircraft with non-US registration (C-XXXX, G-XXXX, etc.)
- Recently Registered Aircraft - New registrations not yet in the database
- Vintage/Antique Aircraft - Historic aircraft with incomplete records
- Ultralights and LSA - Some light sport aircraft may not appear in searches
Pre-Flight Checklist
Gather this information before starting:
- Aircraft registration number (tail number)
- Manufacturer name
- Model designation
- Serial number (from aircraft data plate)
- Current airframe total time
- Engine details: manufacturer, model, serial number, times
- Propeller details (if applicable): manufacturer, model, serial number, times
Tip: You can find most of this information on the aircraft's data plate, typically located in the cockpit or on the fuselage near the tail.
Manual Entry Process
Step 1: Start the Wizard
- Tap the + button on the Aircraft List screen
- In the Tail Number field, tap "Select..."
- Type your registration number
- If no results appear, you can still proceed—the wizard accepts manual entry
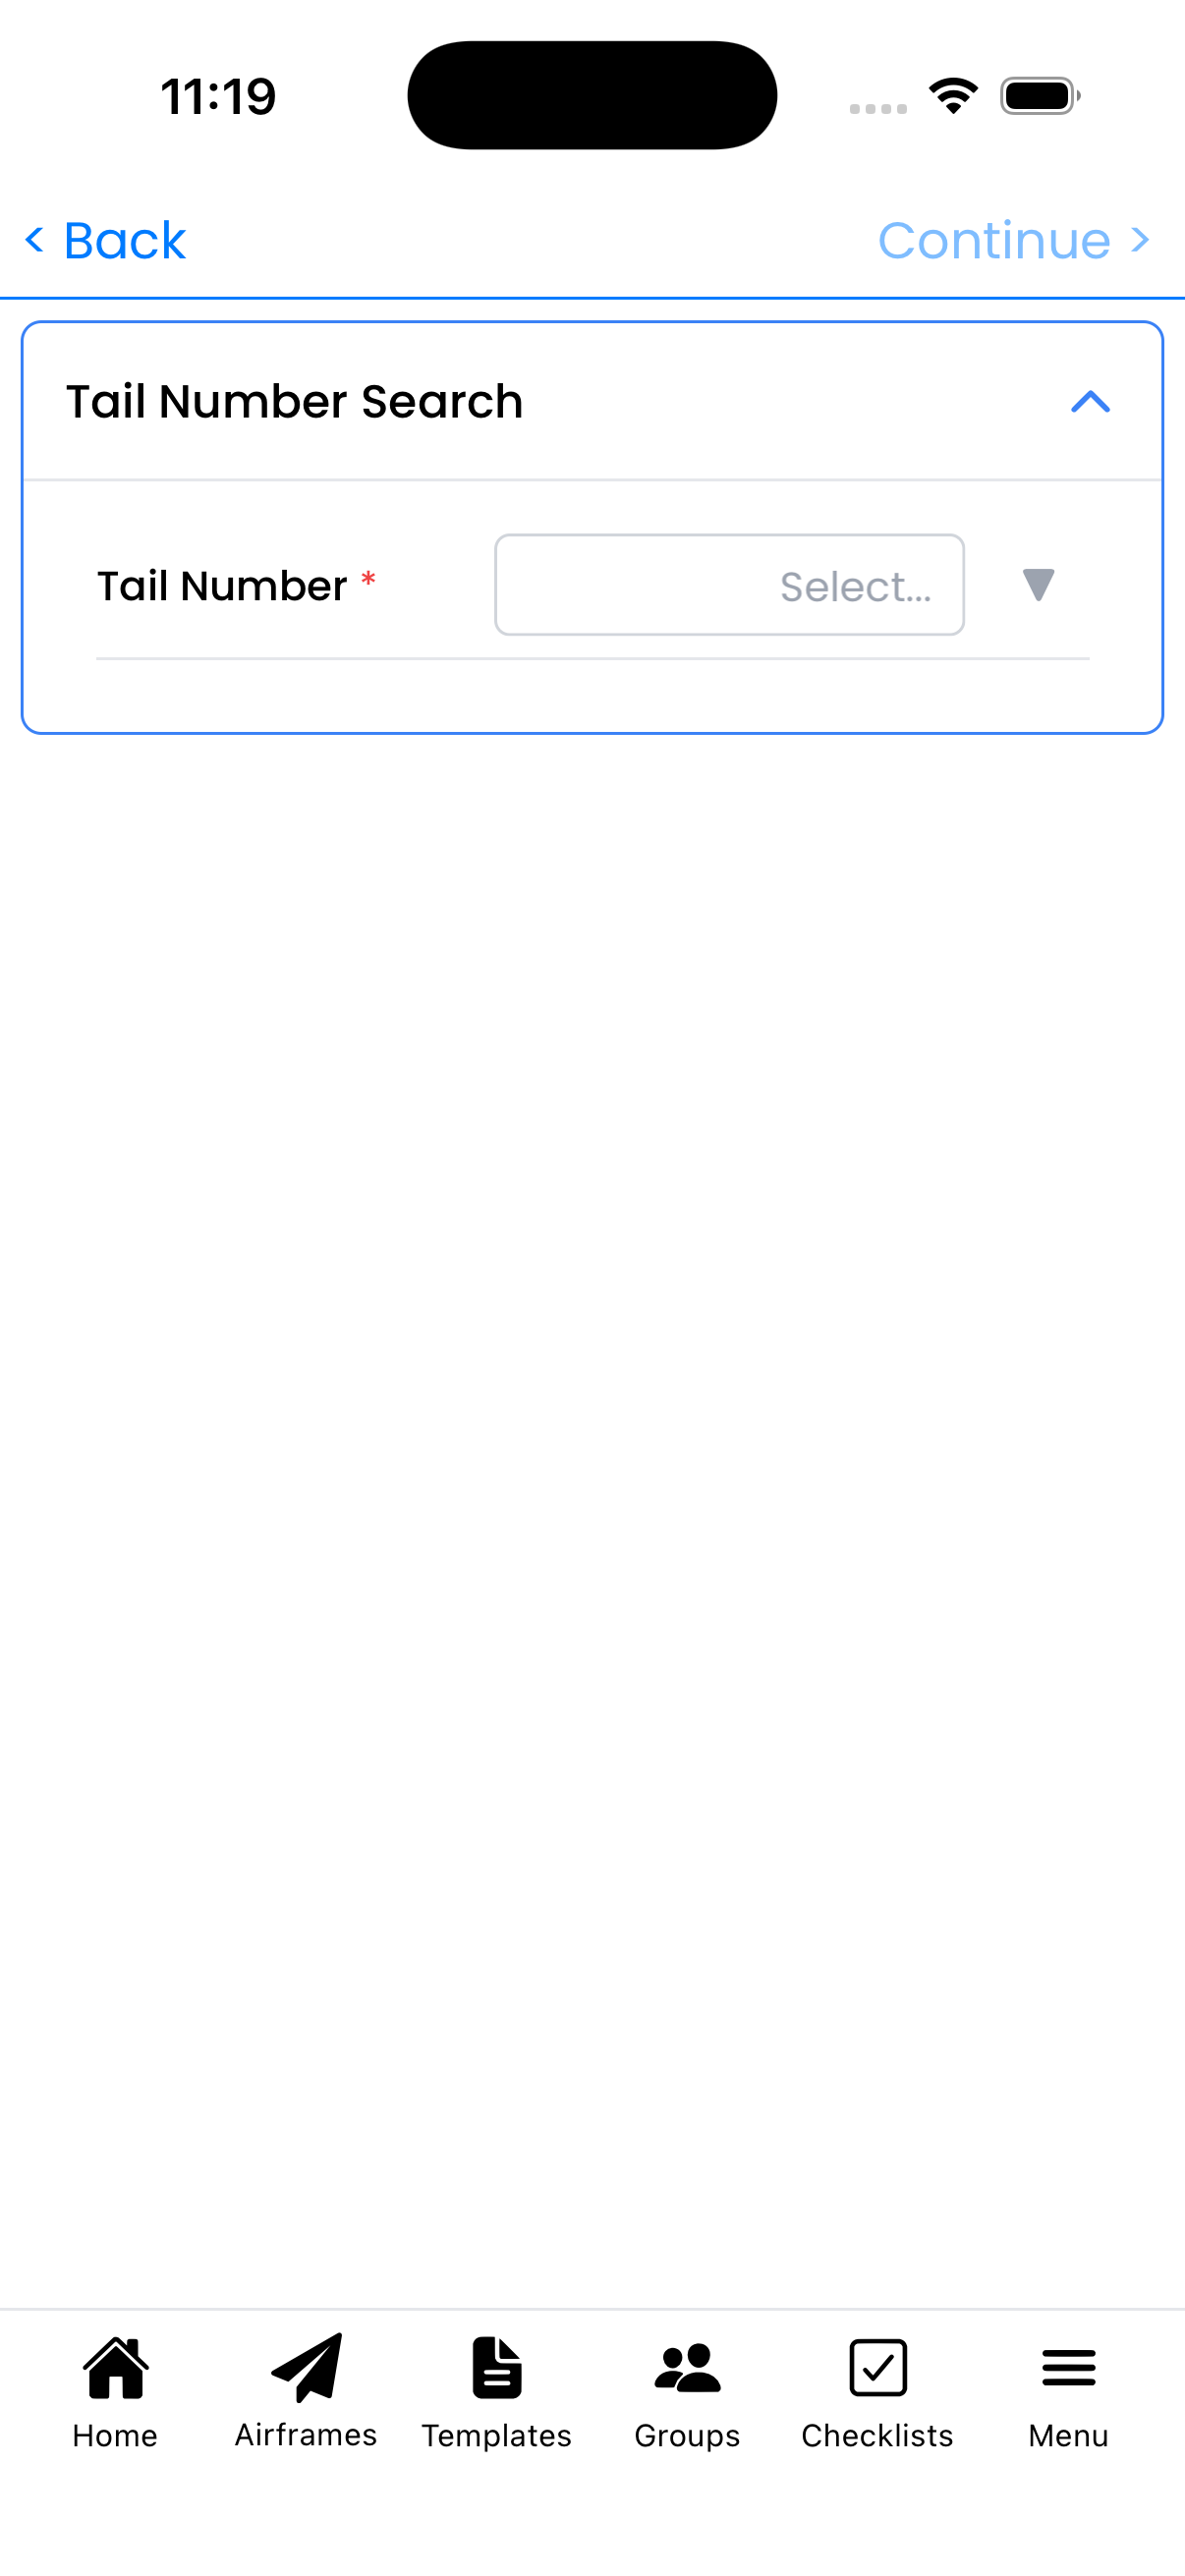
Enter your registration and aircraft details manually when FAA lookup doesn't find your aircraft
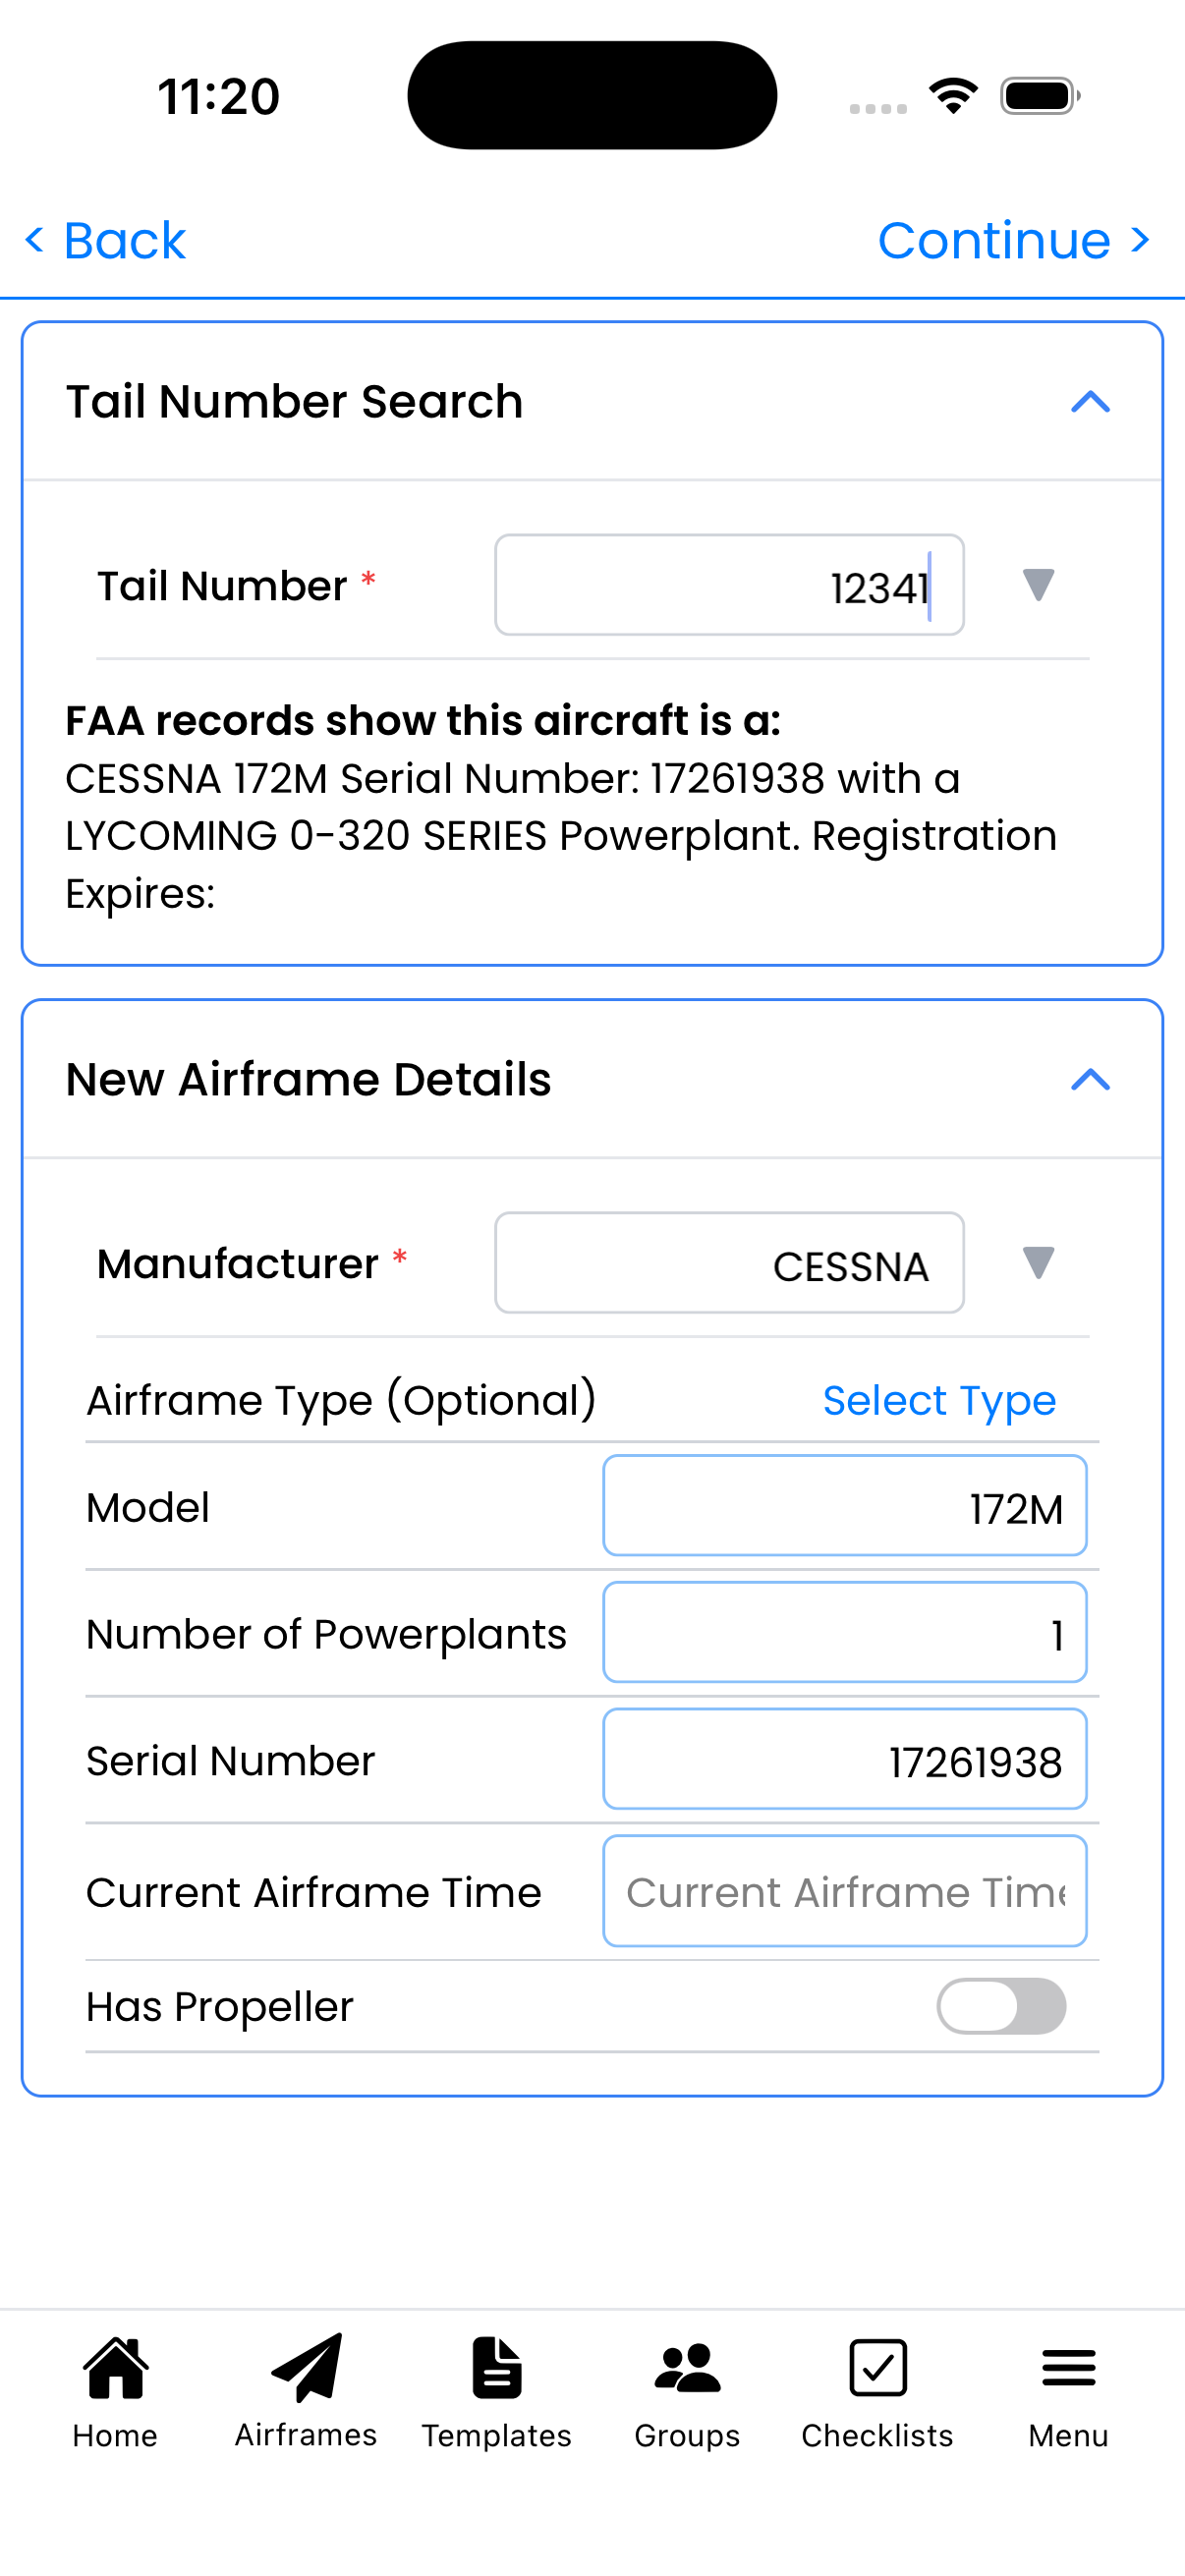
Step 2: Enter Aircraft Details
Fill in all fields manually:
- Manufacturer - Select from the list or type a custom name
- Model - Enter the exact model designation
- Serial Number - Enter from data plate
- Current Airframe Time - Total hours on airframe
- Number of Powerplants - How many engines (1 for most GA aircraft)
- Has Propeller - Toggle on for propeller-equipped aircraft
Note: For experimental aircraft, you may need to enter manufacturer as "Experimental" or the kit manufacturer name.
Step 3: Enter Powerplant Info
Manually enter engine details:
- Select or type the Manufacturer
- Enter the Model
- Enter the Serial Number
- Enter Current Tach Time
- Enter Major Overhaul Time
Enter your engine information manually
Step 4: Enter Propeller Info (if applicable)
For propeller-equipped aircraft:
- Enter Manufacturer
- Enter Model
- Enter Serial Number
- Enter time information
Steps 5-6: Select Inspection and Maintenance Types
Continue through the wizard as normal:
- Select inspection types to track (Annual, 100-hour, etc.)
- Select recurring maintenance items (Oil Change, etc.)
- Tap Complete to finish
Foreign-Registered Aircraft
For aircraft with non-US registrations:
- Enter the full registration including country prefix (e.g., "C-GABC" for Canada, "G-ABCD" for UK)
- Inspection requirements may differ—select types appropriate for your regulatory authority
- All other fields work the same as US-registered aircraft
Important: Logbook's compliance tracking is designed for FAA Part 91 requirements. If you operate under different regulations (Transport Canada, EASA, etc.), you may need to create custom inspection types to match your requirements.
Experimental Aircraft Tips
- Use your kit manufacturer for the Manufacturer field (e.g., "Van's Aircraft", "Zenith")
- Include the model/kit designation (e.g., "RV-10", "CH 750")
- Condition inspections can be tracked using the Annual Inspection type
- Phase I flight test hours can be logged normally
After Manual Entry
Once your aircraft is added:
- Go to Aircraft Setup to review and edit details
- Log your most recent maintenance entries to establish compliance baselines
- Add any additional inspection or maintenance types you need to track
- Consider adding documents (POH, weight & balance, etc.) to the Documents section
Roger that: You can always edit aircraft information later. The initial setup just needs to be accurate enough to start tracking—you can refine details as you go.